ESXi HomeLab - Part 1 - vSphere Setup
Initial Network Setup
⚠️ IMPORTANT: This write-up assumes ESXi is already installed on the server you are configuring.
Using Netgate's Documentation on virtualizing pfSense, we begin by first creating a virtual switch on the ESXi host which will serve our internal LANs on the host.
ℹ️ NOTE: This is similar to the local internal NAT networks in VirtualBox and VMware
Create A Virtual Switch
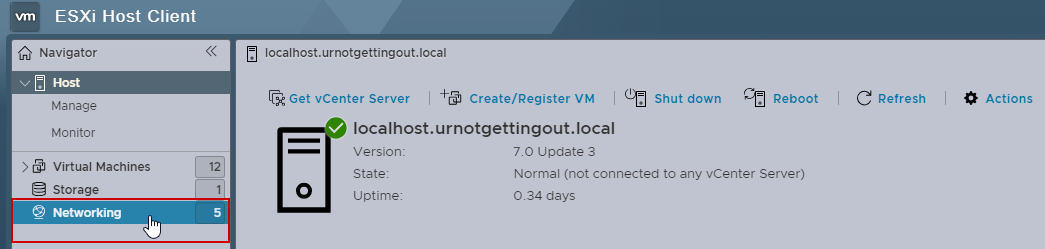
To create the virtual switch navigate to Networking in your Navigator bar:
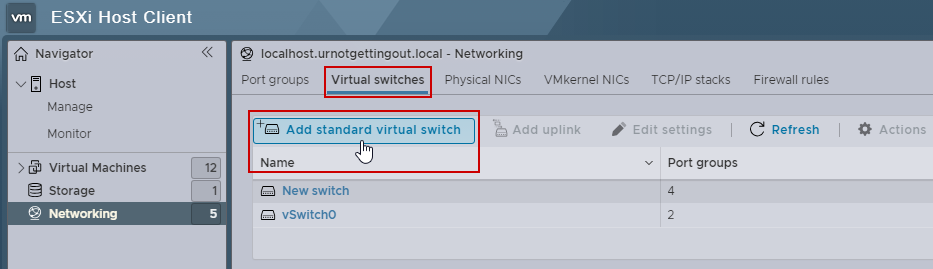
Then click the tab Virtual switches and then Add standard virtual switch:
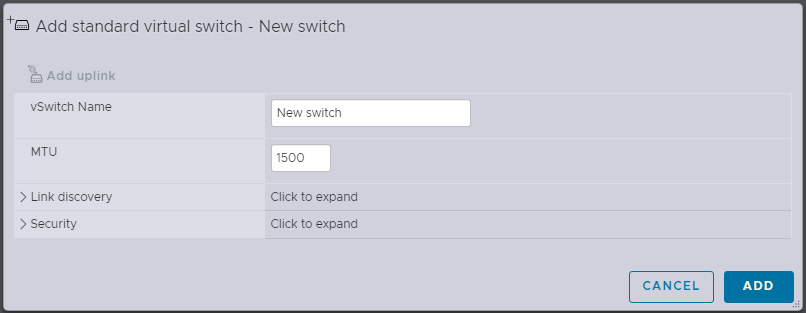
Name your switch whatever you like and leave the default options, I got lazy and named it New switch as you can probably tell from earlier screenshots.
Create Port Groups
Now we will make port groups for the networks that you would like to virtualize. Port groups are equivalent to creating VLANs on the virtual switch.
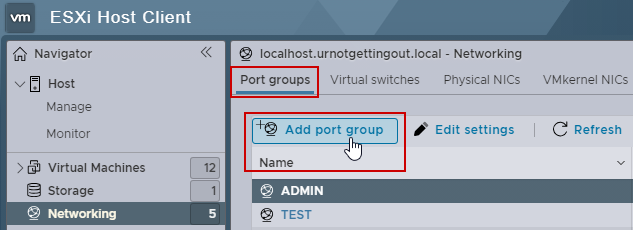
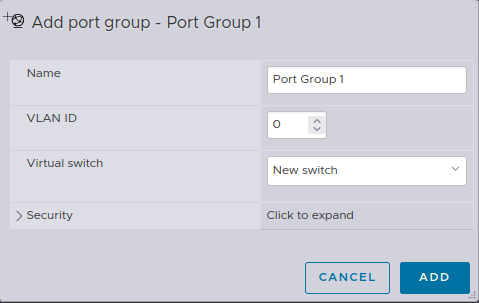
In your Networking tab navigate to Port groups and select Add port group:
To create a port group, give your port groups appropriate names and ALSO select the Virtual switch that you created previously (I will be selecting New switch):
For my particular setup I have 4 Port Groups:
- ADMIN
- TEST
- VULN
- PUBLIC As seen below:
⚠️ IMPORTANT: Make sure each port has a different VLAN ID, this prevents conflicting DHCPs between the networks.

Part 2 Here!
Now we move on to part 2 where we setup and install the pfSense ISO.
Here is Part 2.